10 Utensils Every Baker Needs!

I don’t know about all of you, but when I first started baking I bought every utensil, cake tin, gadget I saw. You name it, I’ve probably had it at one point. As time goes by and you bake more and more, you realise most of those ‘must-have’ things are a complete waste of money. Since getting rid of them, I now actually have free space in my baking cupboard, no more avalanche every time I open the door!

Here are 10 things I really do find essential for any baker, amateur to professional, and a few others that are essential to me.

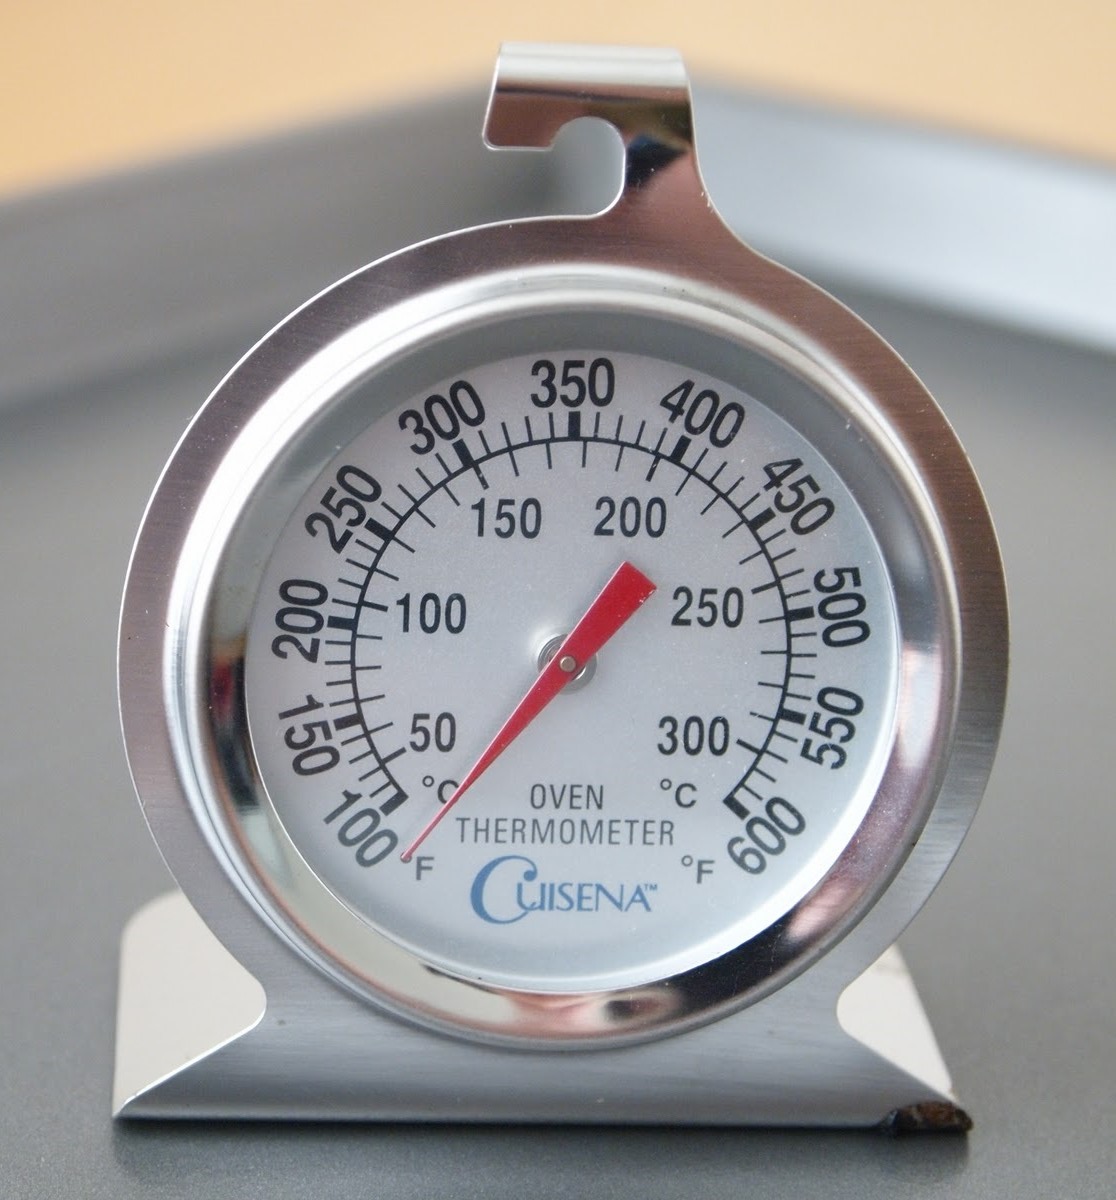
1. Oven thermometer- no matter how new your oven is, the temperature could still be off even by a few degrees and those few degrees could be the difference between delicious and burned.

Oven Thermometer 5 - 091547

2. Timer- Most ovens come with a timer now but if yours doesn’t, you really should invest in one. They are great for when your items need  a few more minutes, especially if you’re a wee bit forgetful like me.

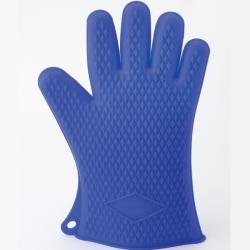
3. Good quality oven gloves/mitts- this seems like an obvious one but a lot of people end up using a folded towel instead, which means burned fingers. Even if you don’t bake regularly, it’s still something you should have in your kitchen. You can buy silicone gloves now too, I’ve not tried them yet but I’ve heard great reviews.

P13095281

4. Cooling racks- Everything that is baked in the oven has to be cooled properly afterwards, or it will continue to bake in it’s tin. The cooling rack has to allow air to completely surround the tin. If you bake a lot, it’s a good idea to have a few of these.

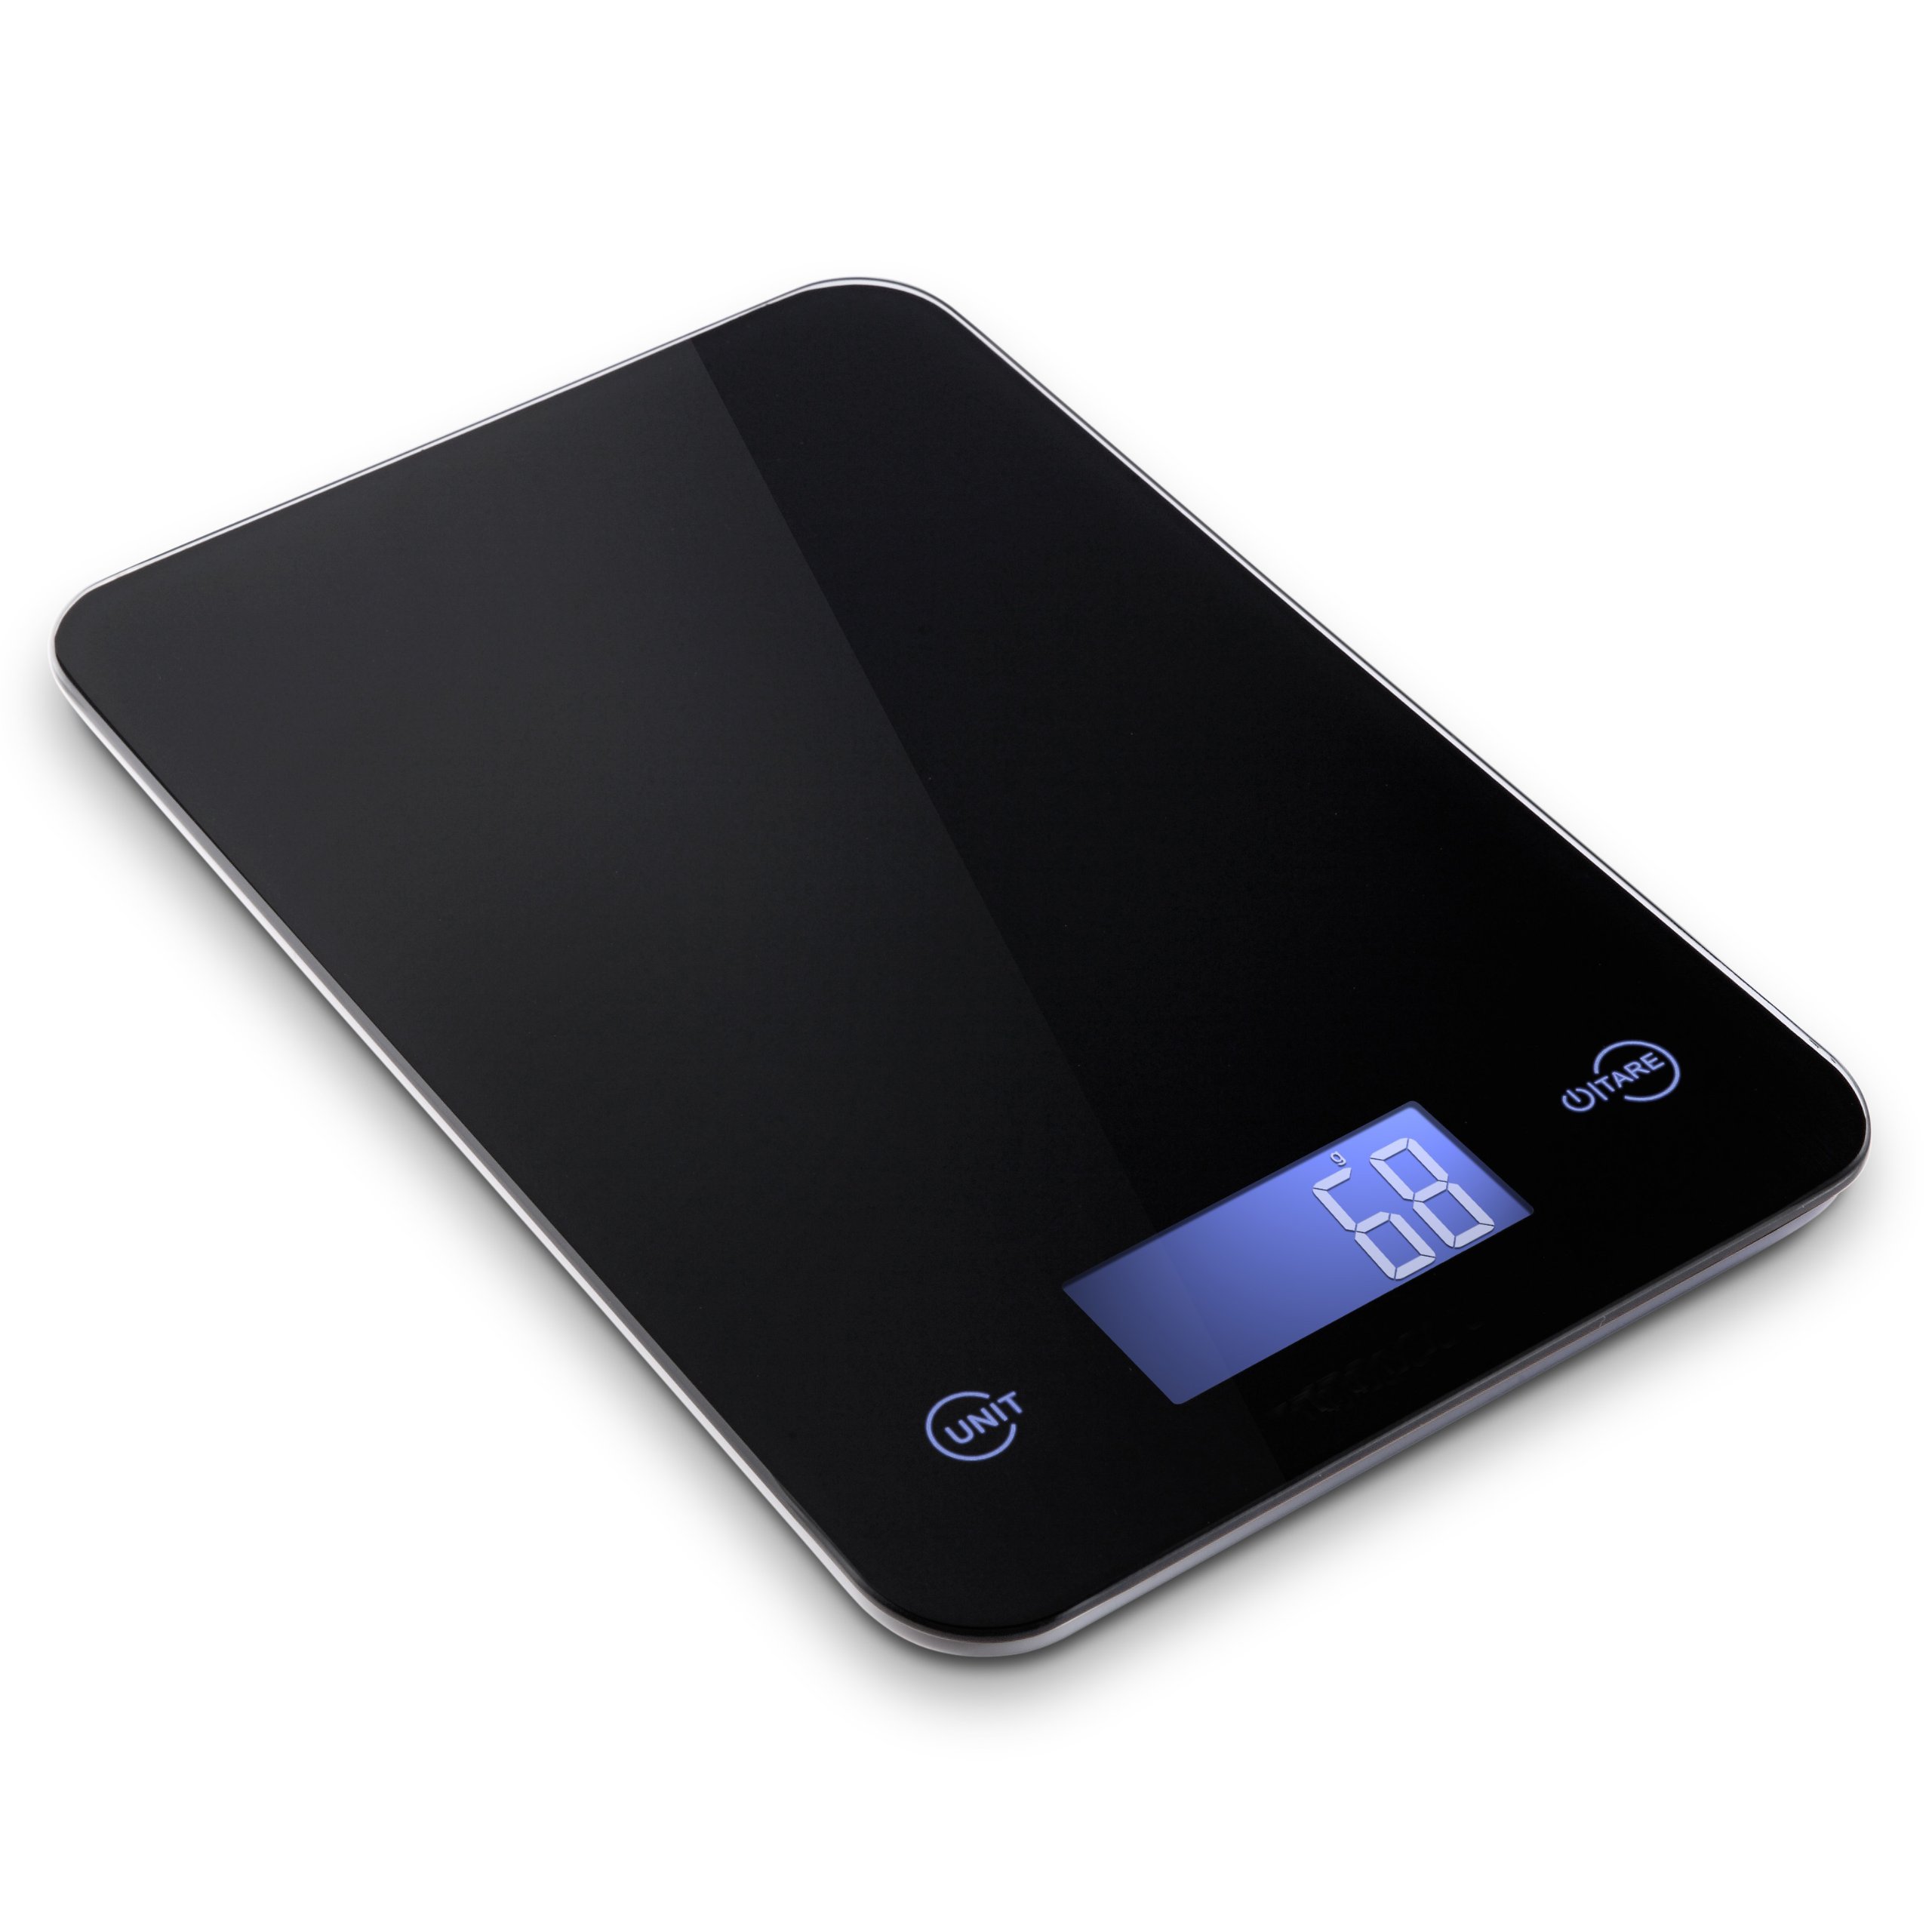
5. Good quality scales- these really are essential to everything you bake. If your ingredients are even a few grams out, it could mess up the entire recipe. In my opinion, digital scales are the best as they give you the exact amount, and they take up less room!

81ajiLgShDL

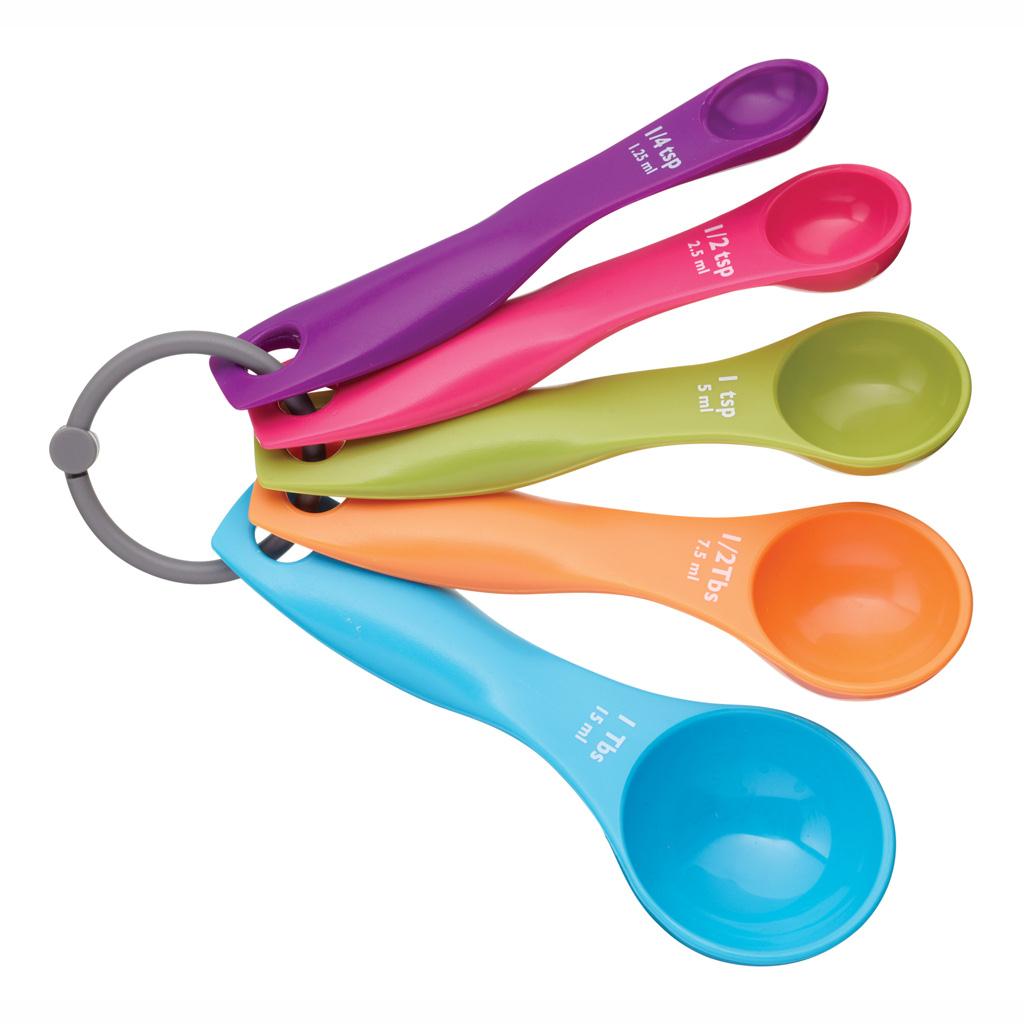
6. Measuring spoons- thesea re just as essential as scales, and are better for smaller amounts.

85114_1024_3000_3000_100409093852

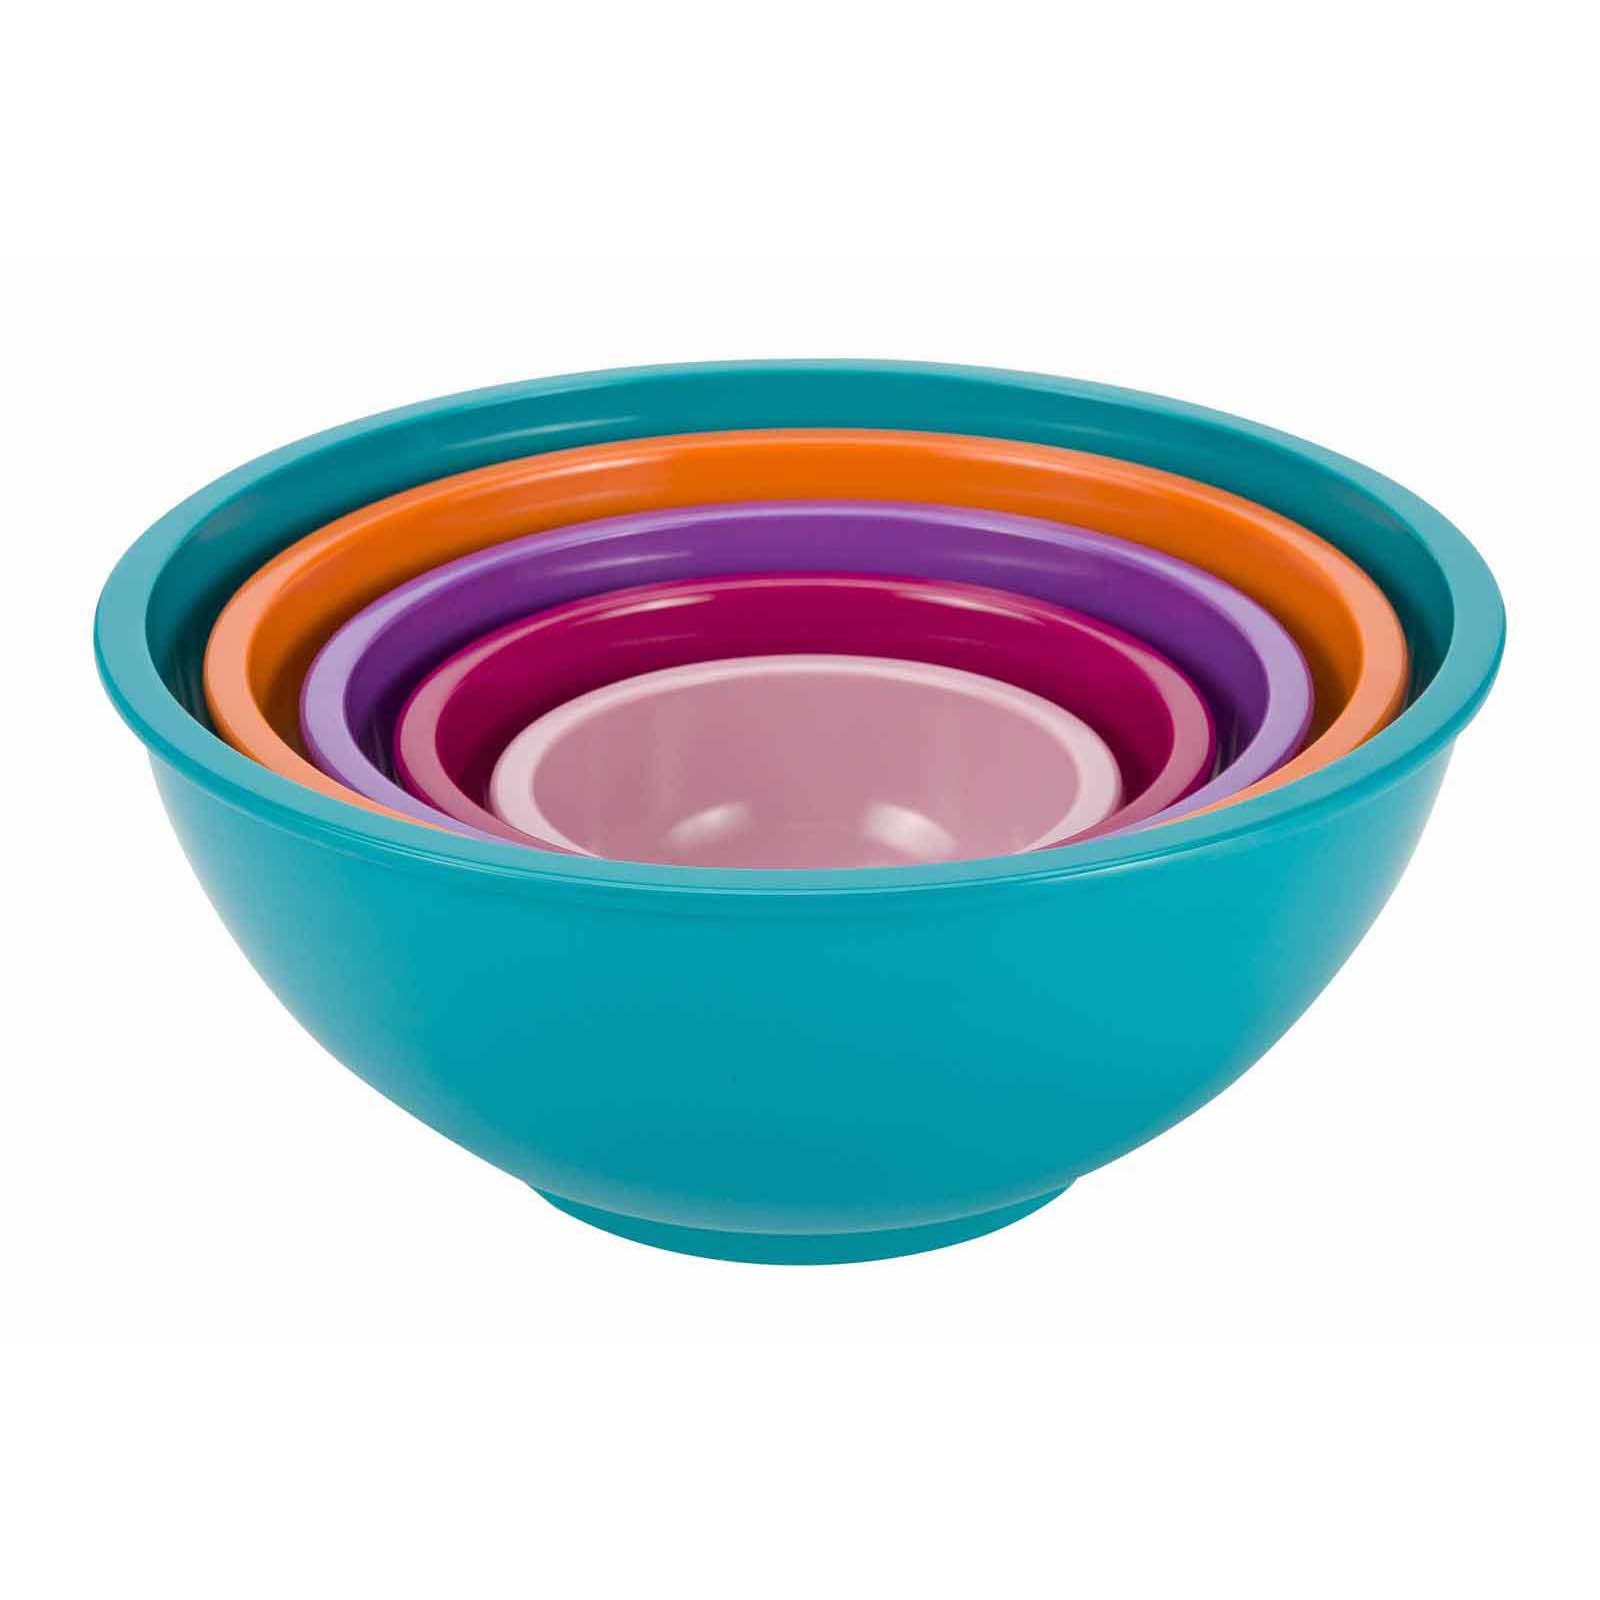
7. Mixing bowls- it’s handy to have multiple mixing bowls, especially different sizes. That way you can have everything weighed out before you actually start baking.

1999-A550_HighRes_ZakDesigns

8. Sieve- most people will already have a sieve in their kitchen but a lot of people don’t bother using it because they think it doesn’t make a difference, or it makes too much mess. Sieving your dry ingredients before baking is crucial to most recipes as it adds aeration to the product.

9. Good quality baking pans/tins/sheets- this is another obvious one but one of the most important. No matter how perfect your recipe/oven/method is, if your baking equipment is too thin/too old/damaged, it will affect your product.

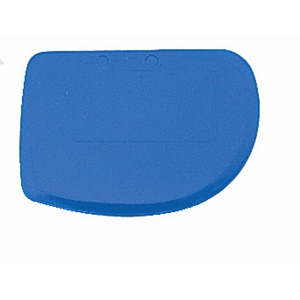
10. Bowl scraper- this is such a simple, cheap tool but it is great. It can be used to scrape down the mixture in your bowl to make sure it’s all mixed together properly. It can also be used to scrape your mixture into your baking pan. A spatula can also be used, but I prefer a scraper because you have more control over it.

e401

Some extra things that aren’t essential to everyone, but can be handy:

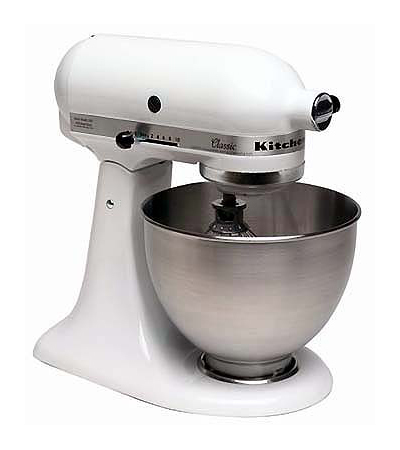
1. Stand mixer- I love my stand mixer. If you bake a lot at home it’s the perfect gadget! Stick your recipe in to mix while getting pans ready/cleaning up etc. If you bake a lot, I definitely recommend investing in a good mixer.

68453

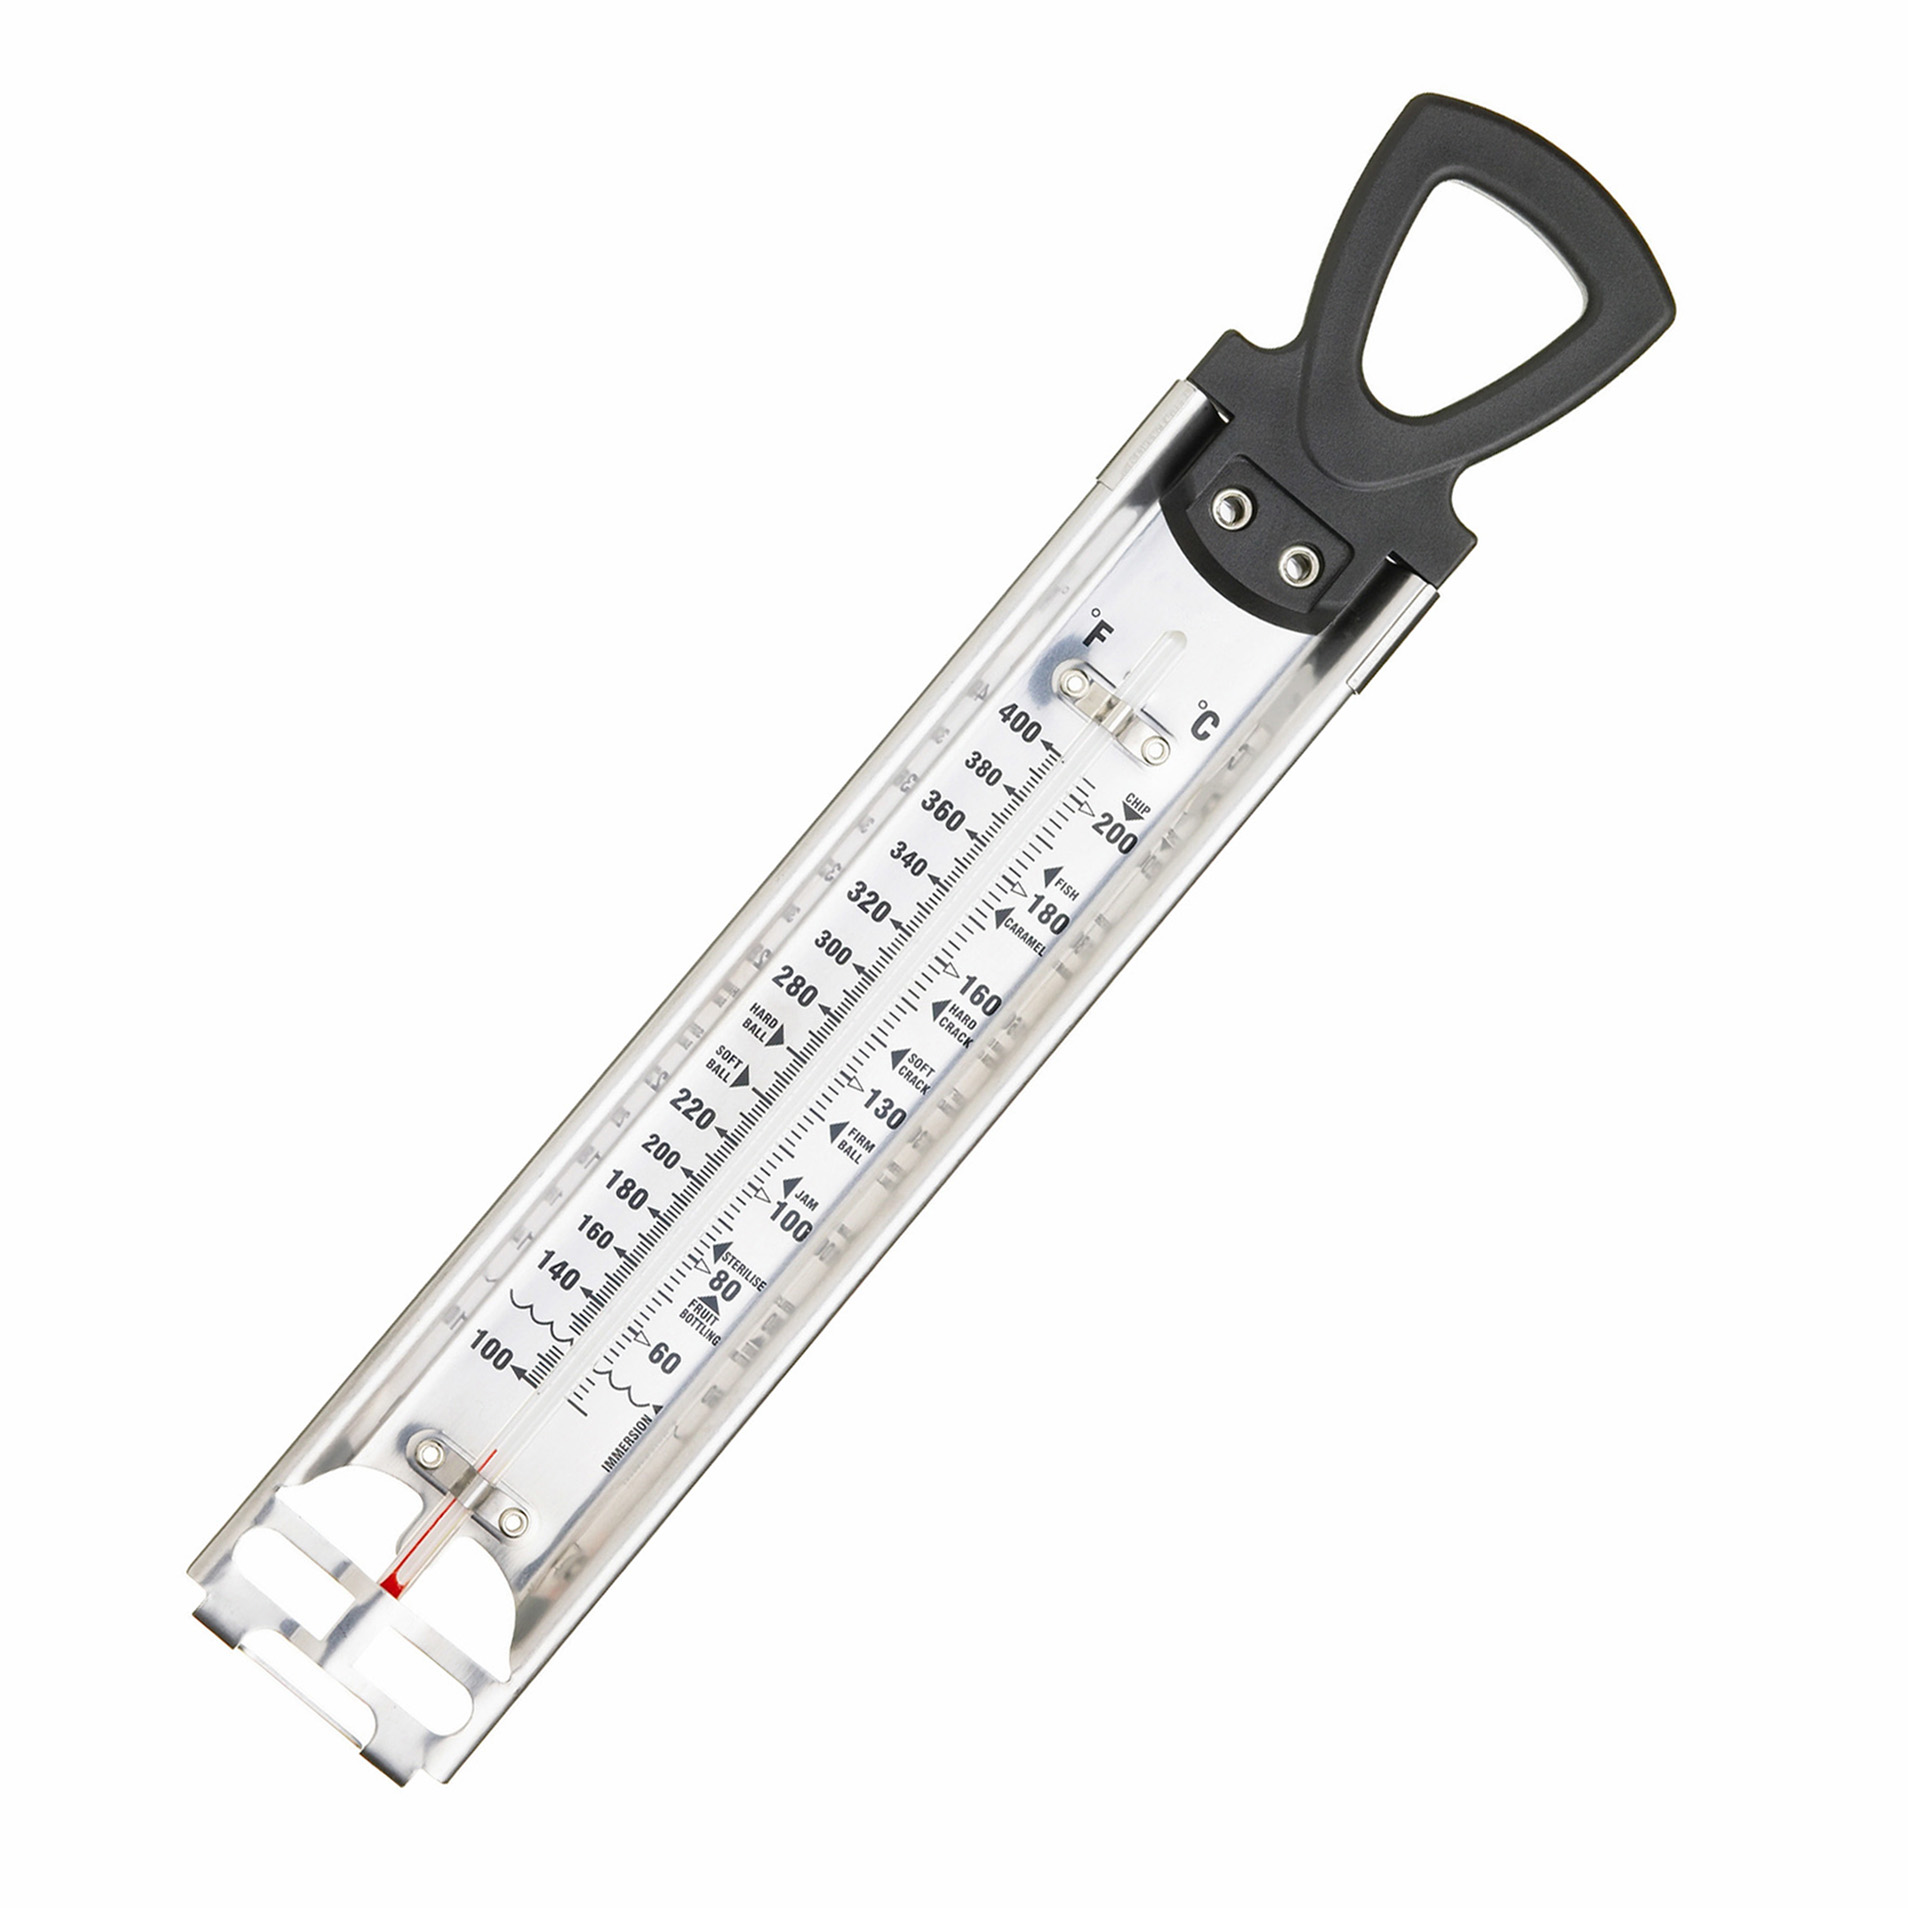
2. Candy thermometer- If you fancy trying your hand at making caramel/candy/marshmallows or basically anything that requires cooking sugar, a candy thermometer is a very handy tool to have. It gives you the exact temperature of the sugar and tells you the different boiling points for jam, caramel etc.

Sugar-Candy-Thermometer-G911-

3. Palette knife- this is a handy tool for coating cakes with icing, but it can also be used to remove cookie from sheets and removing cakes/loaves from pans. Small, angled palette knives are also great for using with cupcake icing or sugar decorations.

7008807_499899141

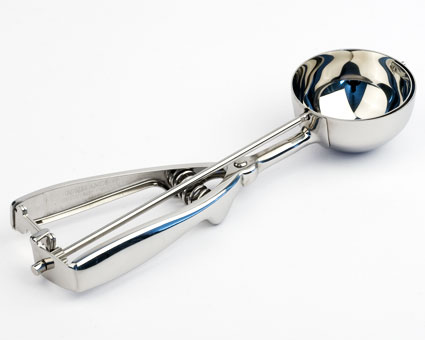
4. Spring action ice cream scoop- this might seem a strange one, but if you bake cupcakes or cookies a lot, it’s a great wee tool to have. It ensures that each cake/cookie is the same size and it’s a quicker method than using a spoon or piping bag.

ice-cream-scoop

If you have any other tools you think are essential, let us know!

Happy Chocolate Cupcake Day!

Chocolate Cupcakes

Who doesn’t love a cupcake? Especially a chocolate cupcake! Since today is chocolate cupcake day, here at Cake-Cetera we’ve been looking up some yummy recipes for you all to use.

We’ve found a couple of recipes that are a little different to a basic chocolate cupcake, so we hope you enjoy them!

Chocolate Orange Cupcakes

First up, we have chocolate orange cupcakes. These cupcakes are made with the juice of an orange, giving a slight fruity taste to the sponge. The buttercream is made with both white and orange chocolate, as well as orange zest. To us, this means it’s technically one of your five a day!

chocolate_orange_69109_16x9

Ingredients

For the cupcakes
  • 120g plain flour
  • 140g caster sugar
  • 1 tsp baking powder
  • 40g unsalted butter
  • 50g dark chocolate, melted
  • 1 free-range egg
  • 125ml milk
  • 1 orange, juice only
  • 3 tbsp granulated sugar
For the white chocolate and orange buttercream
  • 125g unsalted butter, softened
  • 250g icing sugar
  • 2-3 tbsp milk
  • 50g white chocolate, melted
  • 1 orange, zest only
  • 100g orange chocolate

Method

  1. Preheat the oven to 170C/325F/Gas 3. Line a 12-hole muffin tin with paper cases.
  2. Mix the flour, sugar and baking powder together in a food processor. Add the butter and pulse until combined.
  3. Whisk the melted chocolate, egg and milk together in a jug.
  4. Stir the chocolate mixture into the flour mixture until just combined.
  5. Spoon the mixture into the cases and bake for 15-20 minutes, or until risen and golden-brown and a skewer inserted into the middle comes out clean. Remove from the oven and set aside to cool for 10 minutes.
  6. Meanwhile, mix the orange juice and granulated sugar together in a bowl. Carefully pour the orange juice mixture over the warm cakes and set aside to cool completely.
  7. For the white chocolate and orange buttercream, beat the butter until light and fluffy. Carefully stir in the icing sugar and continue to beat for five minutes. Beat in the milk, melted chocolate and orange zest.
  8. Decorate the cupcakes with the buttercream. Use a sharp knife to make chocolate shavings from the orange chocolate and use them to decorate the cupcakes.

Red Velvet Cupcakes

Up next is a cupcake that is extremely popular just now-red velvet. These chocolate cupcakes contain red food colouring which gives them a lovely colour that stays after baking. These cakes are very rich, so a cream cheese frosting is usually used as opposed to buttercream, yummy!

Untitled

(These cupcakes have been decorated using cake crumbs from the sponge)

Ingredients


For the cupcakes:

  • 60g unsalted butter, at room  temperature
  • 150g caster sugar
  • 1 egg
  • 10g cocoa powder
  • 20ml red food colouring
  • ½tsp vanilla extract
  • 120ml buttermilk
  • 150g plain flour
  • ½tsp salt
  • ½tsp bicarbonate of soda
  • 1½tsp white wine  vinegar

For the cream cheese  frosting:

  • 300g icing sugar, sifted
  • 50g unsalted butter, at room  temperature
  • 125g cream cheese,  cold

You’ll also  need:

  • 12-hole cupcake tray, lined with  large cupcake cases

Method

  1. Preheat the oven to  170°C/325°F/gas mark 3.
  2. Put the butter and the  sugar in a freestanding electric mixer with a paddle attachment (or use a handheld electric whisk) and beat on medium speed until light and fluffy and  well mixed. Turn the mixer up to high speed, slowly add the egg and beat until everything is incorporated.
  3. In a separate bowl, mix together the cocoa powder, red food colouring and vanilla extract to make a  thick, dark paste. Add to the butter mixture and mix thoroughly until evenly  combined and coloured (scrape any unmixed ingredients from the side of the bowl  with a rubber spatula).
  4. Turn the mixer down to slow speed, slowly pour in half of the buttermilk and beat until well mixed. Then add half the flour, and beat until everything is incorporated. Repeat this process until all the buttermilk and flour has been added. Scrape down the side of the bowl again.
  5. Turn the mixer up to high speed and beat until you have a smooth, even mixture.  Turn the mixer down to low speed and add the salt, bicarbonate of soda and  vinegar. Beat until well mixed, then turn up the speed again and beat for another couple of minutes.
  6. Spoon the mixture into  the paper cases until two-thirds full and bake in the preheated oven for 20–25 minutes, or until the sponge bounces back when touched. A skewer inserted in the centre should come out clean.
  7. Leave the cupcakes to cool slightly in the tray before turning out onto a wire cooling rack to cool completely.
  8. For the cream cheese frosting, beat the icing sugar and butter together in a freestanding  electric mixer with a paddle attachment (or use a handheld electric whisk) on medium-slow speed until the mixture comes together. Add the cream cheese in one go and beat until it is completely incorporated. Turn the mixer up to medium-high speed and continue beating until the frosting is light and  fluffy (at least 5 minutes). Do not overbeat, as it can quickly become runny.
  9. When the cupcakes are  cold, spoon over the cream cheese frosting on top.

We hope you enjoy